I have been meaning to post this since MARCH! Yep, you read that right. March. 8 months.
There are two reasons I decided to post it now.
1) Many of you have asked for the recipe.
2) This weekend I'm going away with my friend, LeeAnn. She is the one who taught me how to make this delicious bread.
****
We all know that sometimes my time in the kitchen turns into a disaster.
So it makes sense that I have decided to make bread instead of buying it. Ha!
I realized it is WAY cheaper to make bread than to buy store bought. Plus: it tastes better. Minus: calories.
I tried a round of baking on my own. The bread tasted ok but was really dense. After some research I thought maybe I killed the yeast with water being too hot. Or I didn't measure the yeast right because I had instant yeast.
I decided to call up my good friend LeeAnn. She is a great cook and amazing at teaching you techniques in the kitchen. She graciously agreed to teach me how to make bread. When she came over, she told me to get out my camera and publish the process on my blog.
So, here you go...how to make basic white bread.
Cast of characters: Flour, oil, sour cream, yeast, sugar, water. Not pictured: salt and butter.
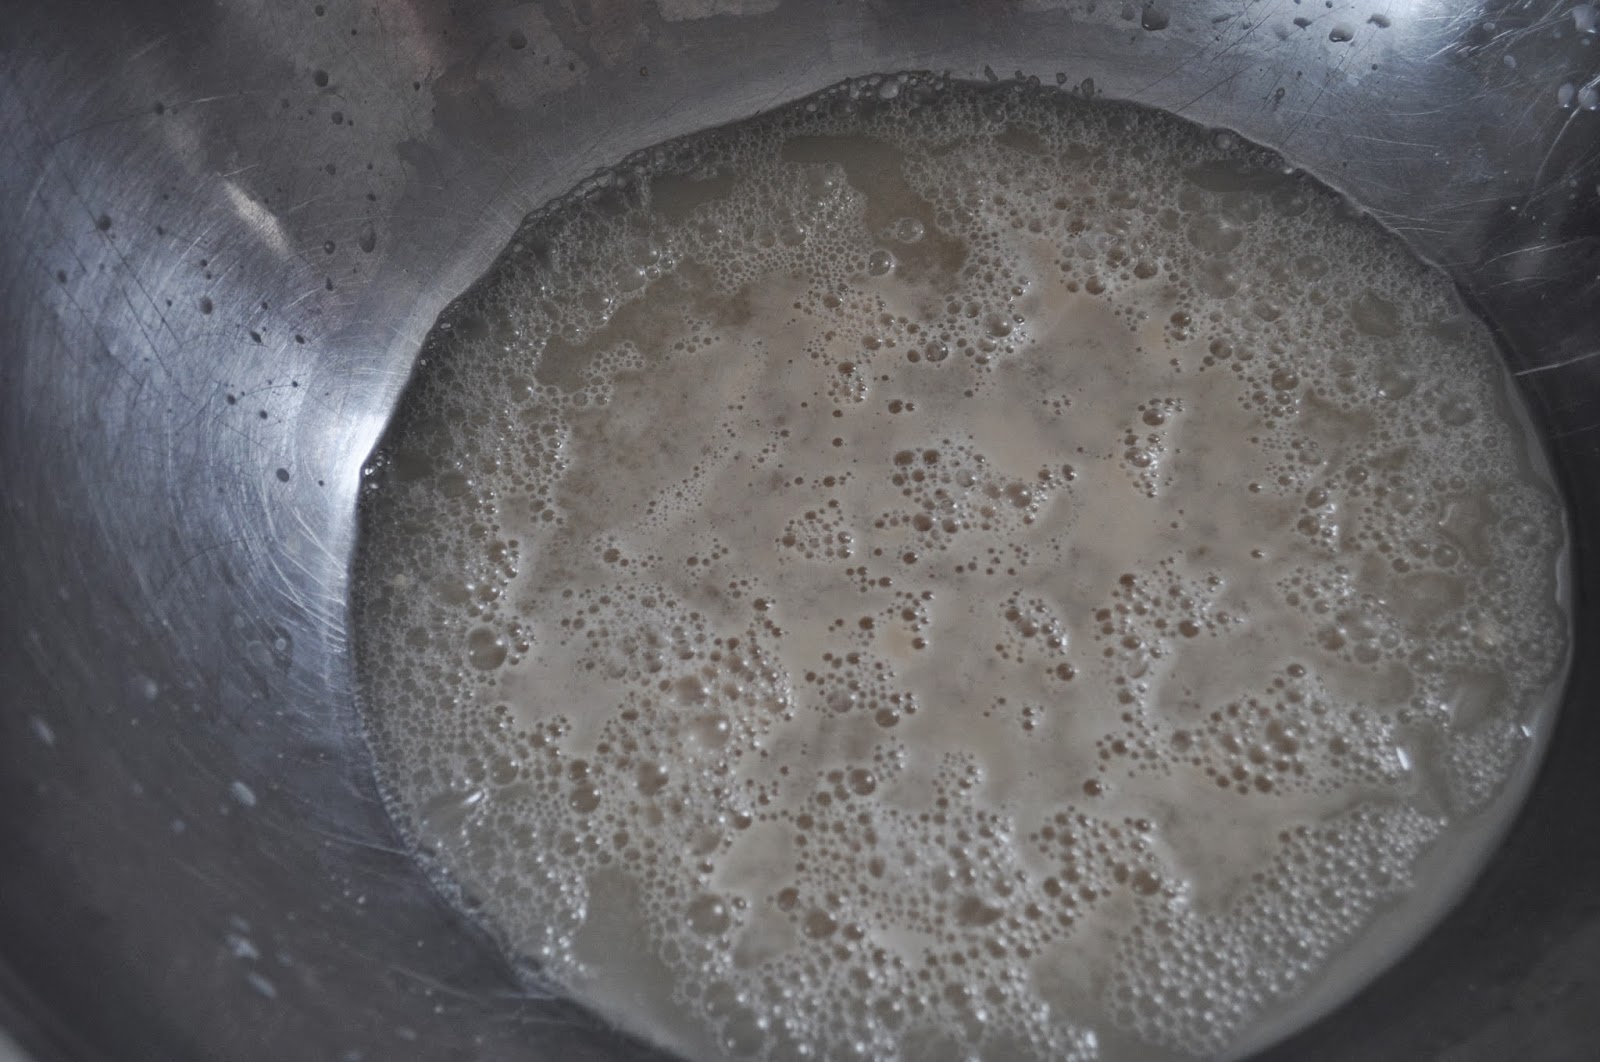
Pour 2 1/2 cups of warm water into a bowl. Make sure the water is not hot...warm. Lukewarm might be a good description of it. Pour a heaping tablespoon of yeast into the bowl of water. (It did not matter that mine was instant). Stir with a wire whisk.
Next, take a tablespoon of your 1/4 cup of sugar and stir into the yeast and water with a wire whisk. The sugar activates the yeast. Set a timer for 8-9 minutes and let the yeast activate.
Your yeast is activated when it looks like this.
After you have let your yeast activate, stir in the rest of the sugar with a wire whisk.
Next up: sour cream. You can use anywhere between a couple tablespoons and 1/2 cup of sour cream. I only had a little bit of sour cream left in my container so we used what was left. A nice little dallop.
While stirring with your whisk, mix in 1/2 cup oil (I use canola) and 1 tablespoon salt.
Now you can start adding your flour. You will use between 6 and 6 1/2 cups of flour. Mix it with your whisk until about cup 3 or 4, when the dough starts getting stuck in the whisk. Then you can use a spatula, adding flour until the dough is a texture that you can easily handle without it sticking to your hands.
Now you can start to knead the dough on a floured surface. Don't put your fingers into the dough, instead cup it kind of like you would a newborn baby, and fold over toward you. Then using the base of your palm, push away. When it becomes long, turn it the opposite direction and do it again. There is not really a time table to this. You just keep doing it until it's soft and our hands don't really stick to it. You might need to add flour to the surface a couple of times.
Once it is the right texture, mold it into a nice little circle, like this.
Take a stick of butter (or oil) and lather up your bowl. You are going to place your dough in this bowl to rise. The butter/oil prevents it from sticking to the bowl.
Put your dough in the bowl, and turn it on both sides, getting butter oil on the whole surface of the dough.
Now let your dough rise for 90 minutes (or until your dough had doubled in size).
This part is also what messed up my first batch of bread. My house is just not warm enough in the winter. Especially the kitchen. LeeAnn and I put it over a vent, in a warmer room, and it still did not rise. We ended up having to place the bowl on the stove, with the oven and a couple of burners turned on low to make it warm enough for the dough to rise. When I tried it the first time, my dough did not rise. At all.
Now here comes the fun part! Once your dough has risen, punch it!
Then take it out and as LeeAnn said, "
Smack that baby", getting all the air bubbles out and move it around like you did when you kneaded it.
Once it's been pretty well smacked down, cut in half with a knife.
Form each half into a nice loaf shape and place in a greased loaf pan.
Let rise another 30-45 minutes. When the top of the dough has risen to the top of your pan, it's time to bake it.
Bake your loaf in a preheated 375 oven for 30 minutes. If you have a digital thermometer (I don't) it's great to use it when baking your bread. Once the inside temp of the bread is 200, it's done!
I let mine cool a while then take out of the pans. Then I let them cool a little more before slicing. Your bread will (or should) be nice and soft inside.
Yum, yum, yum! Andrew loves to eat a piece of this bread soon after it comes out of the oven with some home-made jam!
****
LeeAnn is a great friend. She is also quite talented with cooking, baking, teaching, and hospitality.
Want to visit her B&B? Click here to check it out.